
Go to Products, tick the products (or "Select all results" for a filtered view), and choose Add tags, a button above the list or under More actions. Remove tags works the same way. Both are free, built into the admin, and leave every other tag on the product alone. Most tag jobs end there.
The rest are recipes on this page, one per job: renaming a tag, tagging by a rule the product list cannot filter, and merging near-duplicates. Shopify has no rename and no undo for tags, so the order of steps is what keeps the tags you meant to keep. For fields other than tags, see the overview of every Shopify bulk edit method.
Add one tag to a filtered set
Products, filter the list by collection, vendor, type, status or an existing tag, and tick the rows. The top checkbox selects the page; "Select all 50+ items" and, for a filtered view, "Select all results" extend it past the page. Then Add tags, type the tag, confirm.
Add tags is additive. It does not touch the tags a product already has, which is why it is the right tool for most tag work and why no paid app beats it for this job. On a phone the admin selects up to 25 items at a time, so run large jobs on a desktop.
Check the count first
The number of selected products is shown before you confirm. If it is larger than you expected, the filter is wider than you meant.
Remove a tag from every product
Filter the product list by the tag, select all results, choose Remove tags, and enter the tag. Only the tags you name come off; everything else on each product stays.
Before you do, search your collections for conditions that use the tag. An automated collection built on "tag is sale" empties the moment the tag is gone, and so does any storefront section that shows it. The guide to bulk adding products to a collection covers manual collections, which do not move when tags change.
Rename a tag without losing the set
Shopify has no tag rename. A tag exists because products carry it, so renaming "summer24" to "summer-2024" is two bulk actions on the same selection: filter by tag summer24, select all results, Add tags "summer-2024", then Remove tags "summer24".
Remove first and the filter "tagged summer24" matches nothing, so the selection you needed for the add is gone. Add first, always.
- Filter the product list by the old tag and select all results.
- Add the new tag. The old tag still marks the set.
- Filter by the old tag again and check the count matches.
- Then remove the old tag.
- Update any collection condition that used the old name.
Tag by a rule the product list can't filter
The bulk action can only tag what you selected, and the selection is whatever the product list can show: a search, a saved view, the standard filters. "Every product with a variant under $20" or "everything with no stock at the warehouse" is not a product list filter. The rule has to be evaluated somewhere else first. There are three places to do it.
In a spreadsheet. Export the products, work out the rule in the sheet, and edit the Tags column. Tags in one cell are separated by commas, and a product can carry up to 250. Shopify does not state on the CSV page whether an imported Tags cell is merged with the existing tags or replaces them, so write the full list the product should end up with, old and new. Then either behaviour gives the same result. With "Overwrite products with matching handles" ticked, an empty Tags cell clears that product's tags, while a column you leave out of the file is left alone. The safe file has three columns: URL handle, Title (required on update), Tags. Keep the export you made before editing; it is the only way back, as the guide on how to undo a bulk edit in Shopify explains.
In an app. Matrixify, Ablestar, Hextom and QuickEdit all have add-tag and remove-tag actions with filters the admin lacks: price ranges, inventory, vendor and type combined with AND or OR, sometimes metafields. Some keep a backup window so a task can be undone; the length depends on the app and plan. An app pays off when the same tagging runs again next month.
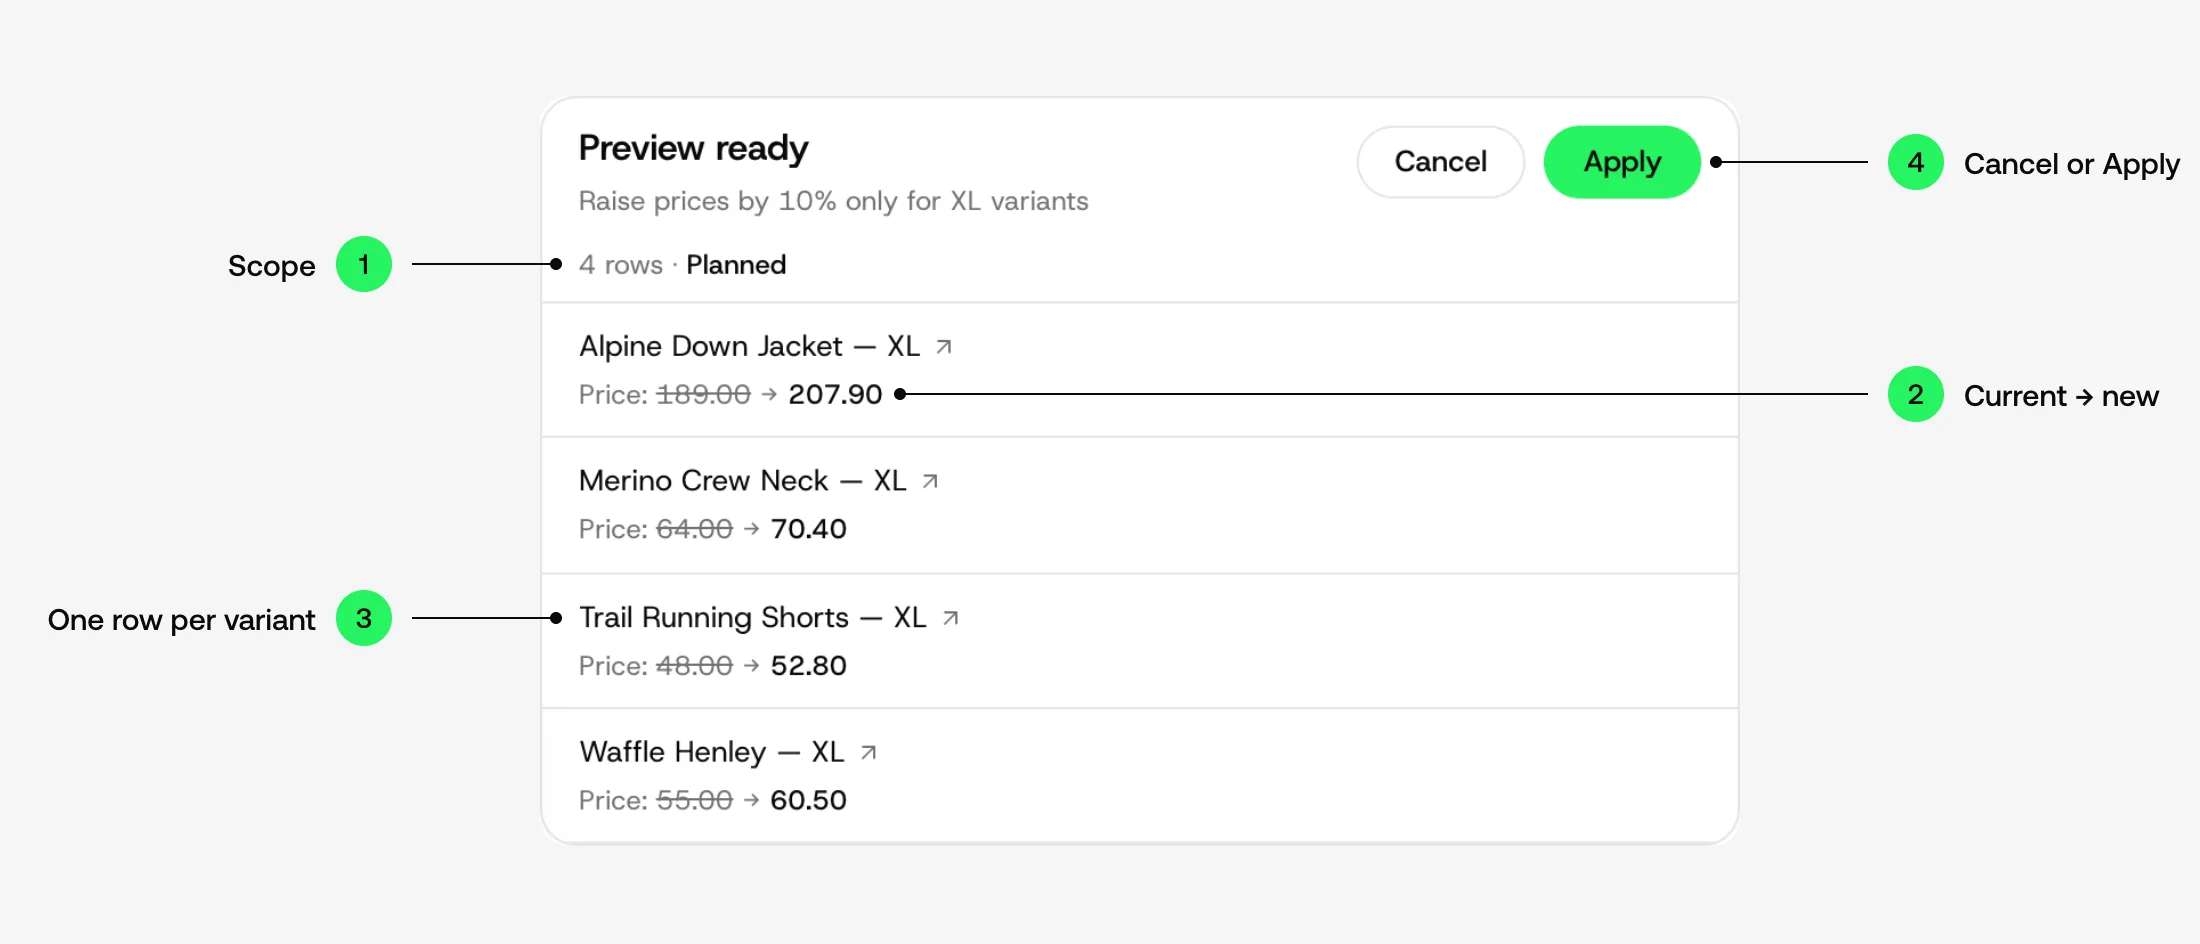
In a sentence. In ApiMate you write "add the tag clearance to every product in Outlet with no stock at any location", and it shows one row per product with the tags it has now and the tags it will have. It uses Shopify's add and remove operations, never a write of the whole list, so tags you did not mention cannot be lost. The free plan covers small jobs. A tag add is not reverted from history; the way back is a second instruction that removes it, with its own preview.
Before you run it
- Count the selection against what you expected.
- Search your collections for conditions that use the tag.
- For a rename or merge, add first and remove second.
- For a CSV, export first, keep the file, and filter the sheet for blank Tags cells.
- Test on ten products if the rule is new.
Questions
Can I add a tag to many products at once in Shopify?+
Yes. Products, select the products, then Add tags from the bulk actions. Existing tags on each product are kept.
Can I rename a tag in Shopify?+
Not directly. Add the new tag to every product with the old one, then remove the old tag. Add first, so the old tag still marks the selection.
Does a CSV import replace tags?+
Shopify does not state it on the CSV help page. Write the full tag list in each cell and the result is the same either way. A blank Tags cell with overwrite on clears the tags.
How many tags can a Shopify product have?+
Up to 250, according to the product CSV documentation.
Can I undo a bulk tag change?+
The admin has no undo. Reverse it with the opposite bulk action, or re-import your pre-edit export. In ApiMate, a tag add is undone by a second instruction that removes it.
Related
Run this on your own catalog
Install from the Shopify App Store. Every write shows its rows before it runs, and applied jobs can be reverted from history.